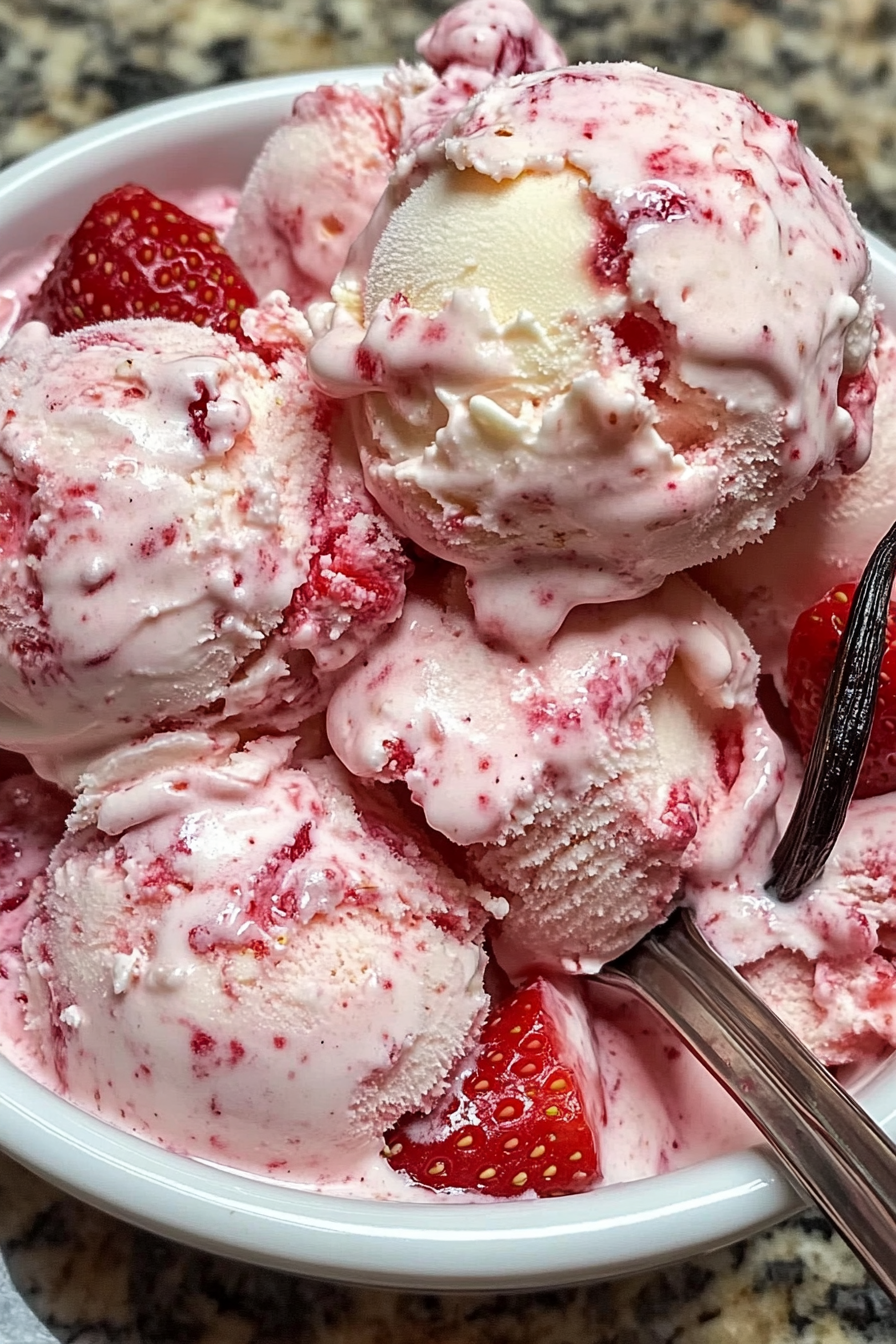
There’s nothing quite like a homemade ice cream on a warm day, and this Strawberry Vanilla Bean Ice Cream is the perfect treat to satisfy your cravings. With the richness of vanilla bean and the freshness of ripe strawberries, this ice cream is smooth, creamy, and bursting with flavor. Whether you’re sharing it with loved ones or indulging on your own, this dessert is sure to be a hit!
Strawberry Vanilla Bean Ice Cream Ingredients
Fresh and Flavorful Components
- 🍓 2 cups fresh strawberries, hulled and sliced: The base of this ice cream, providing a burst of sweet, fruity flavor.
- 🍓 1 cup granulated sugar: Sweetens the strawberries and the ice cream base.
- 🍓 1 vanilla bean, split and seeds scraped: Infuses the ice cream with a deep, aromatic vanilla flavor.
- 🍶 2 cups heavy cream: Adds richness and creaminess to the ice cream.
- 🍶 1 cup whole milk: Balances the cream, making the ice cream smooth and not overly rich.
- 🍳 6 large egg yolks: Create a custard base, ensuring the ice cream is thick and luxurious.
Strawberry Vanilla Bean Ice Cream Step-by-Step Instructions
Step 1: Prepare the Strawberry Mixture
Begin by combining the sliced strawberries, granulated sugar, and vanilla bean seeds in a saucepan. Cook over medium heat until the strawberries soften and the sugar dissolves. This will take about 5-7 minutes. Once the mixture is ready, remove from heat and let it cool. This step enhances the strawberry flavor, making it intensely fruity and sweet.
Step 2: Heat the Cream Mixture
In a separate saucepan, heat the heavy cream and whole milk over medium heat. You want the mixture to simmer gently, so be careful not to let it boil. Remove from heat as soon as you see bubbles forming around the edges. This step is crucial for creating a smooth custard later.
Step 3: Temper the Egg Yolks
In a bowl, whisk the egg yolks until they are smooth. Slowly pour the hot cream mixture into the egg yolks, whisking constantly. This gradual process, known as tempering, prevents the eggs from curdling. The result is a silky, well-blended mixture that will form the base of your ice cream.
Step 4: Thicken the Custard
Return the egg and cream mixture to the saucepan and cook over low heat. Stir constantly with a wooden spoon or spatula until the mixture thickens and coats the back of a spoon. This usually takes about 8-10 minutes. The custard should be smooth and rich, ensuring that your ice cream will have a creamy texture.
Step 5: Strain & Cool the Custard
To ensure a perfectly smooth ice cream, strain the custard into a clean bowl. This will remove any small lumps or bits of cooked egg. Let the custard cool to room temperature, then refrigerate it for at least 2 hours or until it’s completely chilled. This step is vital for achieving the best consistency when churning the ice cream.
Step 6: Churn the Ice Cream
Once the custard is cold, churn it in an ice cream maker according to the manufacturer’s instructions. This process incorporates air into the custard, making the ice cream light and fluffy.
Step 7: Add the Strawberry Mixture
During the last few minutes of churning, add the strawberry mixture to the custard. This will create beautiful swirls of strawberries throughout the ice cream, ensuring that every scoop is filled with fruity goodness.
Step 8: Freeze Until Firm
Transfer the churned ice cream to a container and freeze it for at least 4 hours, or until firm. This final step allows the ice cream to set, giving it the perfect scoopable texture.
Strawberry Vanilla Bean Ice Cream Tips for Success
Ensuring the Perfect Texture
- Chill the Custard Thoroughly: Make sure the custard is fully chilled before churning. This ensures the ice cream sets properly.
- Use Fresh Strawberries: Fresh, ripe strawberries provide the best flavor and texture. If they’re out of season, consider using high-quality frozen strawberries.
Serving Suggestions
How to Serve This Delicious Treat
- Top with Fresh Strawberries: Add sliced strawberries on top for a fresh burst of flavor.
- Drizzle with Chocolate Sauce: For an extra indulgent touch, drizzle melted chocolate or strawberry sauce over the ice cream.
- Pair with a Crisp Cookie: A shortbread or almond cookie adds a delightful crunch alongside this creamy treat.
Variations
Creative Twists on the Classic Recipe
- Strawberry-Basil Ice Cream: Add finely chopped fresh basil to the strawberry mixture for a herbaceous twist.
- Chocolate Chip Strawberry Ice Cream: Mix in mini chocolate chips during the last minute of churning for a chocolate-strawberry combo.
Storage Instructions
Keeping Your Ice Cream Fresh
- Store in an Airtight Container: To prevent freezer burn, store the ice cream in a container with a tight-fitting lid.
- Enjoy Within Two Weeks: For the best flavor and texture, enjoy your ice cream within two weeks of making it.
Nutritional Information
Each serving of this Strawberry Vanilla Bean Ice Cream provides a delightful balance of richness and fruitiness, making it a satisfying treat that’s perfect for any occasion.
Strawberry Vanilla Bean Ice Cream FAQs
Can I Make This Recipe Without an Ice Cream Maker?
Yes, you can make this recipe without an ice cream maker by freezing the custard and stirring it every 30 minutes until it sets. However, using an ice cream maker will yield a smoother, creamier texture.
How Can I Make a Dairy-Free Version?
Substitute the heavy cream and whole milk with coconut cream and almond milk. Use a dairy-free butter alternative for a rich, creamy result.
Can I Use Frozen Strawberries?
Frozen strawberries can be used, but they may release more water during cooking. If using frozen, reduce the amount of added liquid by cooking them a bit longer.
How Do I Store Leftovers?
Store leftover ice cream in an airtight container in the freezer. To maintain freshness, press a piece of plastic wrap directly onto the surface of the ice cream before sealing the container.
This expanded section ensures that your Strawberry Vanilla Bean Ice Cream recipe is both SEO-friendly and engaging, making it easy for readers to follow and enjoy the process of creating this delightful dessert.